Smartphone Microscope Conversion
This page documents my experiments with turning my
smartphone into a microscope. To do this yourself all you
need is a phone with a camera, a laser pointer, some tape
and about 10 minutes of time.
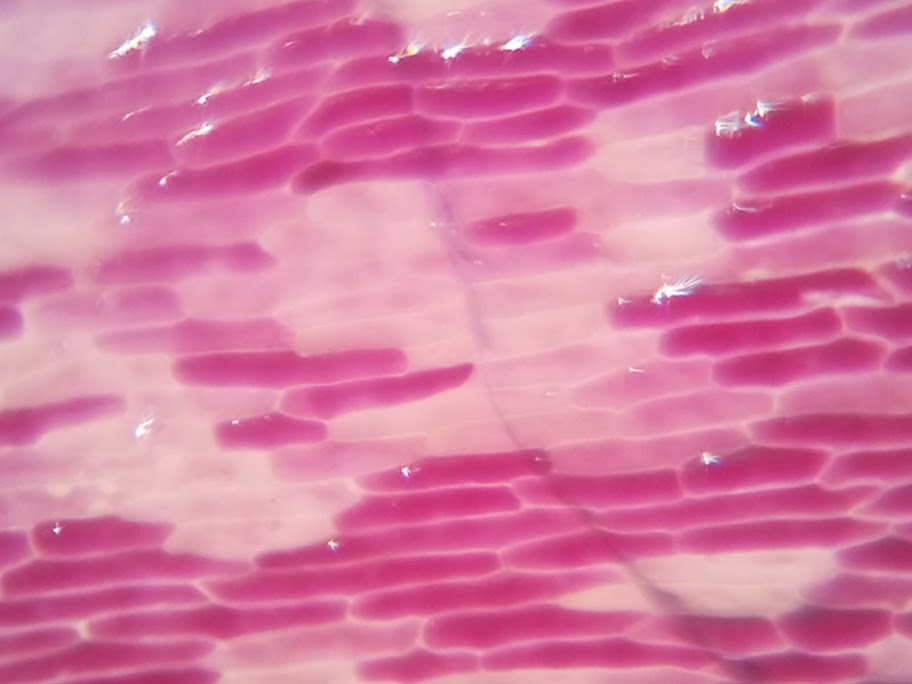
Before I begin let me show some pictures that were taken with my microscope. Below are some cells from a red onion.
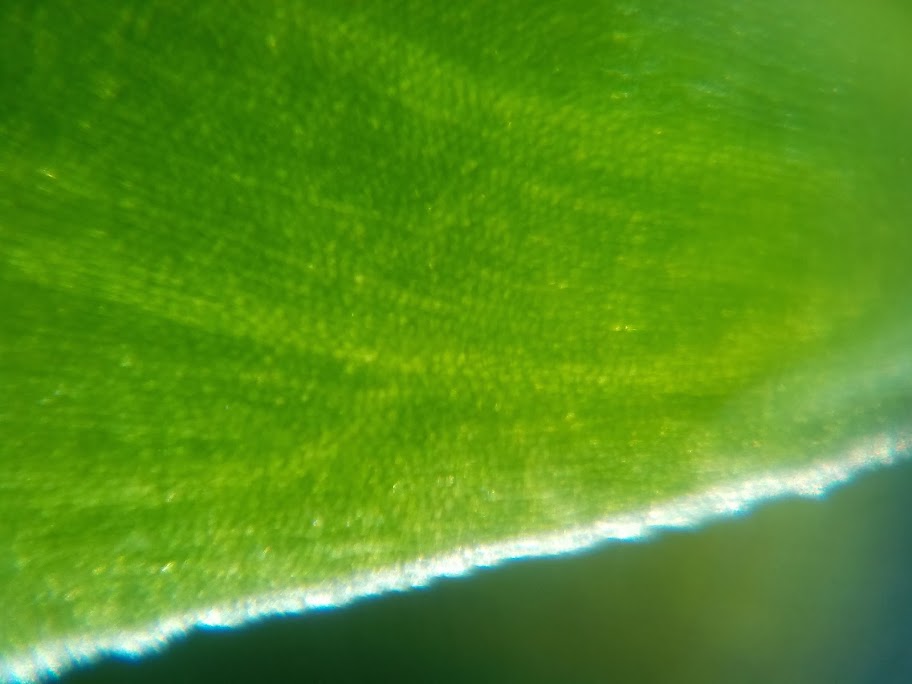
A bromeliad leaf, see the cells.
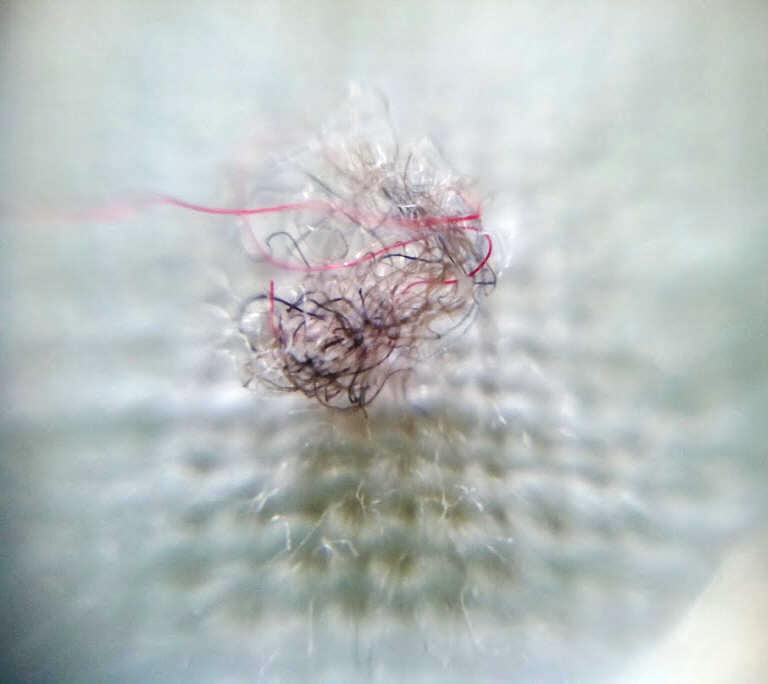
An elegant puff of threads.
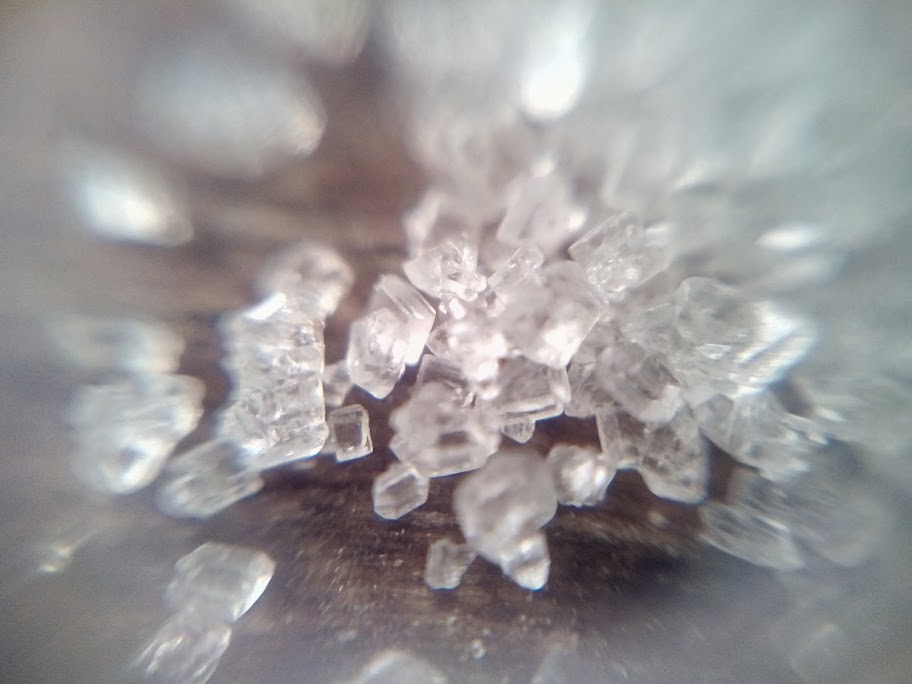
Salt and Sugar, can you tell which is which?

Parts of a Penny, at low magnification (left) and high magnification (right).


To see all my favorite photos check out this album.
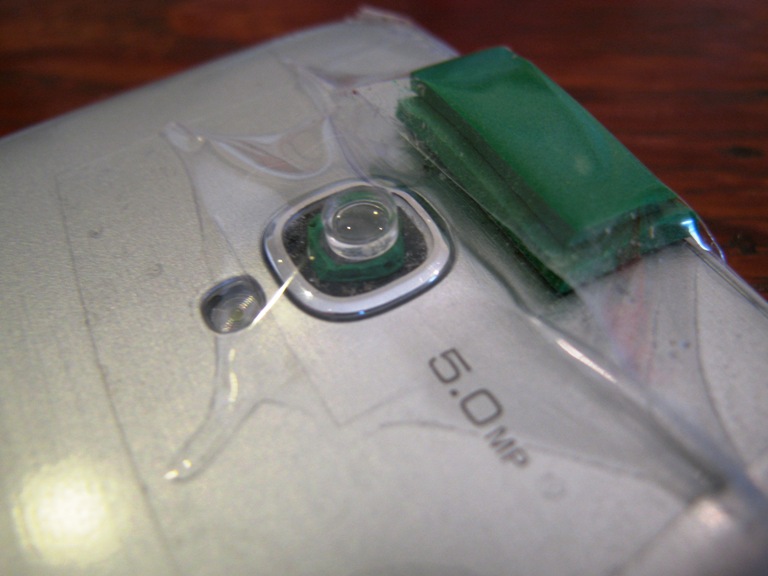
My microscope was directly inspired by this project by Yoshinok, but mine has a few differences.
For the advantages above you do sacrifice the following:
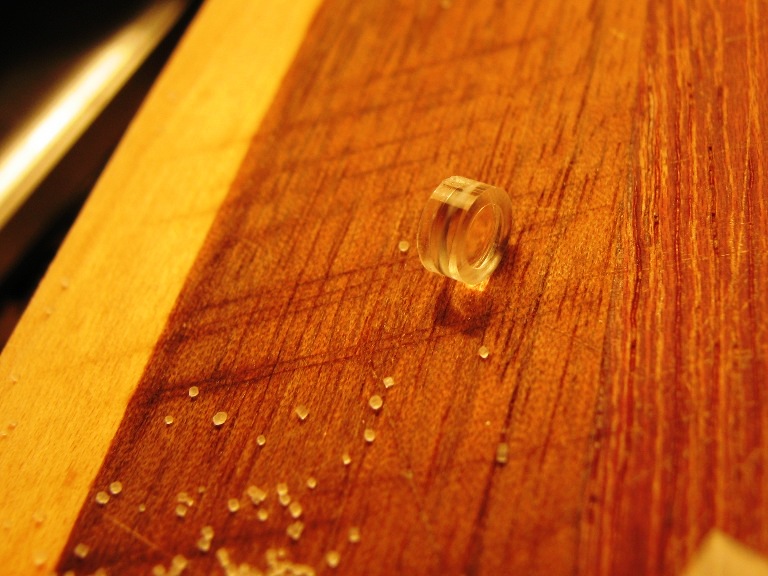
For instructions on removing the lens from a laser pointer see Yoshinok's description. I will add that you should be careful not to scratch the lens too badly. I scratched and chipped the sides a little each time I extracted a lens and things worked okay so don't worry to much.
To hold it steady it helps to keep one side of the phone firmly on a flat surface and then rock the phone inwards until the sample comes in focus.
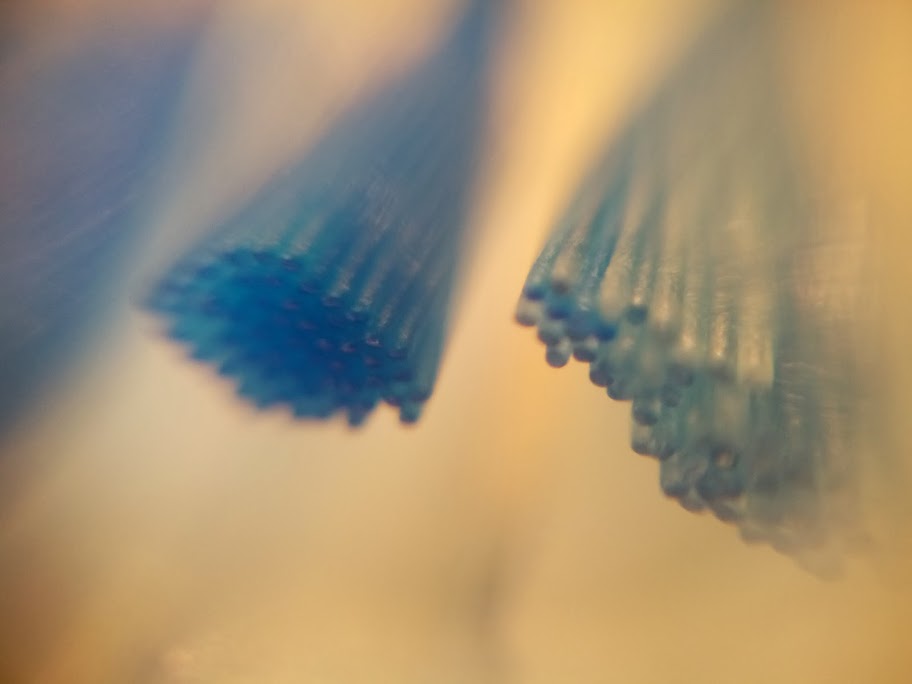

Toothbrush (left) and cardboard matchbook (right).
I also added some pieces of frosted tupperware over my camera's flash to help soften its light though that didn't really work so well.
To get more magnification add a second lens smack on top of the first lens. Note that it is a lot harder to use a double-lens type of microscope because you need to hold things much closer to the camera and the smaller field of view makes it harder to find things.
To protect things, just add some (or cardboard or anything) above the lens like I did below so that the lens doesn't get smashed in if your phone drops on a flat surface.

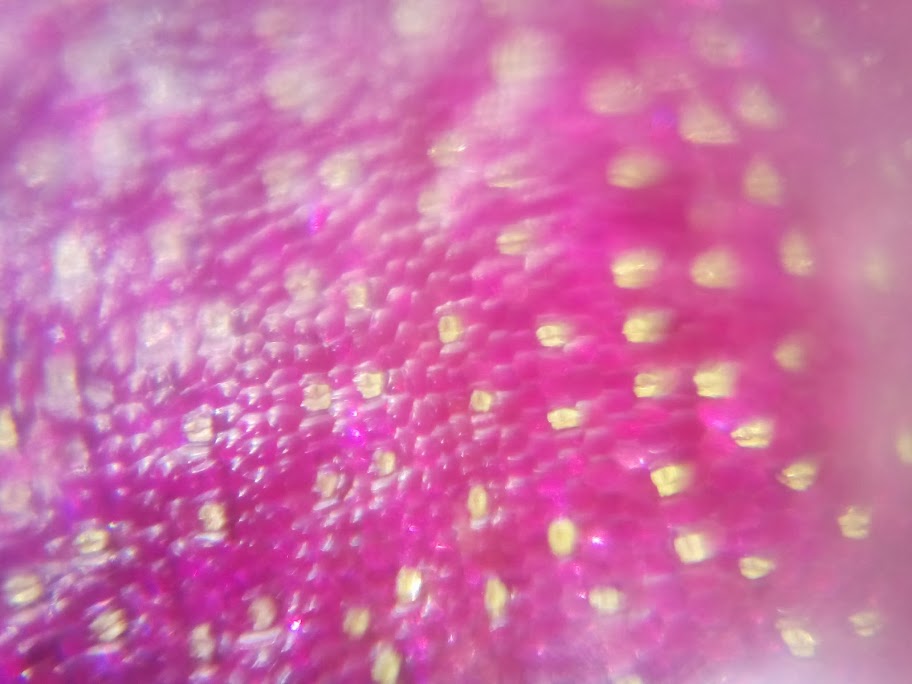

Before I begin let me show some pictures that were taken with my microscope. Below are some cells from a red onion.

A bromeliad leaf, see the cells.

An elegant puff of threads.

Salt and Sugar, can you tell which is which?


Parts of a Penny, at low magnification (left) and high magnification (right).


To see all my favorite photos check out this album.
TL;DR;
Tape one or two laser-pointer lenses directly in front of your phone's camera and it works as a super-powerful magnifying glass (low power microscope). Hold the camera real close to something and snap a picture!
Inspiration and comparison:
My microscope was directly inspired by this project by Yoshinok, but mine has a few differences.
- It fits in my pocket. I can walk around with my microscope all day long.
- You can microscope almost anything super-quickly (once you get the hang of it). No preparing slides, wiggling bolts or chipping pieces off of things.
- Setup is basically immediate (once you get the lens out).
- You have maximum flexibility composing shots from a variety of angles in a variety of situations.
For the advantages above you do sacrifice the following:
- Precise focusing is more difficult, especially in a plane.
- Holding the camera steady is more difficult; with brighter light you can still get clear photos.
- Distortion, noise and blur are added by tape, but not too much.
Instructions:
The basic idea is really as simple as the TL;DR; above, but there are lots of different ways to go about attaching the lens; you'll notice a few below.
Lens
The lenses I used came from these laser pointer pens, one is shown below. You could also get a pack of lenses without the laser pointer here. Note that the lens is not symmetrical. Attach one way then it will focus everything in a plane and you'll get a full field of view. Attach it the other way then you will get a non-planar focus area and some warping making a cool effect. You can see that effect in the pictures of salt and sugar above. Try out both ways and see what you like!For instructions on removing the lens from a laser pointer see Yoshinok's description. I will add that you should be careful not to scratch the lens too badly. I scratched and chipped the sides a little each time I extracted a lens and things worked okay so don't worry to much.

Camera
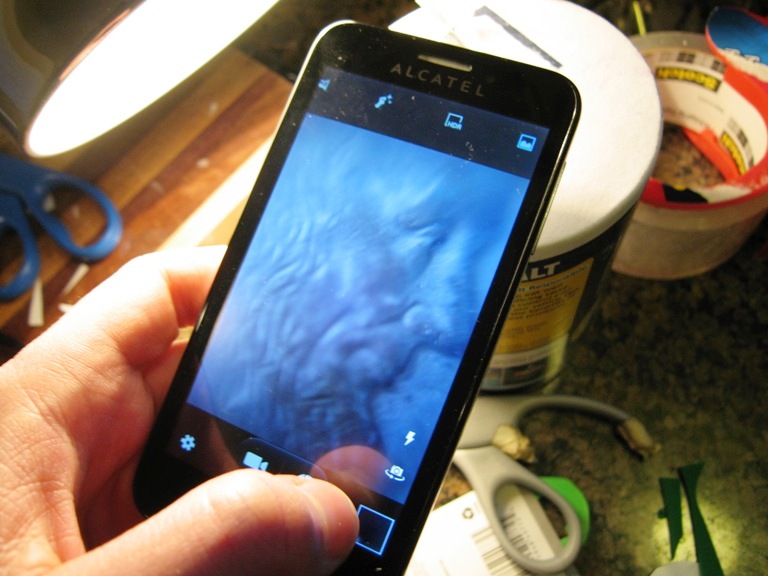
I have an Alcatel One-Touch phone which is a great phone, but it has a fairly bad camera by modern standards (2014) and takes pictures 2560 x 1920. It does not have any dynamic focusing capabilities and does not have an optical zoom.Tape
Regular clear packing tape worked fine. I put a small square of tape on the inside so that it wouldn't stick to the lens, so dust wouldn't stick below the lens and to help make the tape diffuse a little less light. If you plan for this change to stay a while make sure the tape seals all the way around so that dust can't get in.
Light
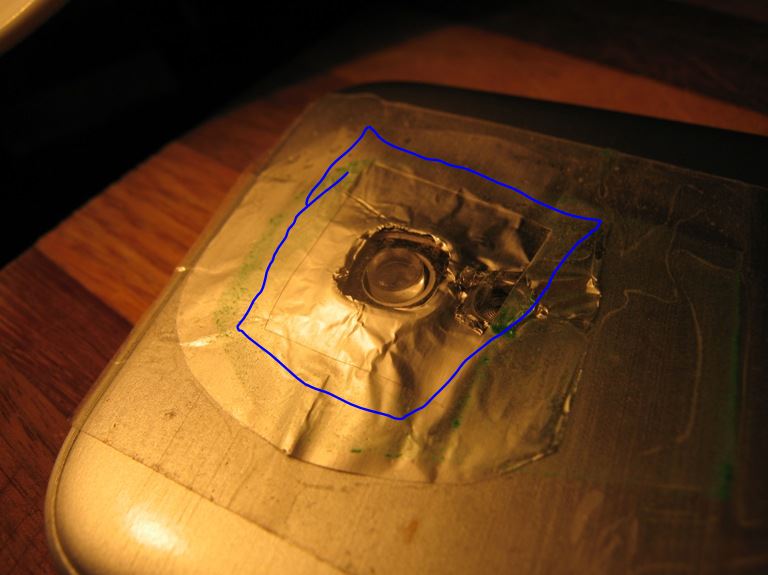
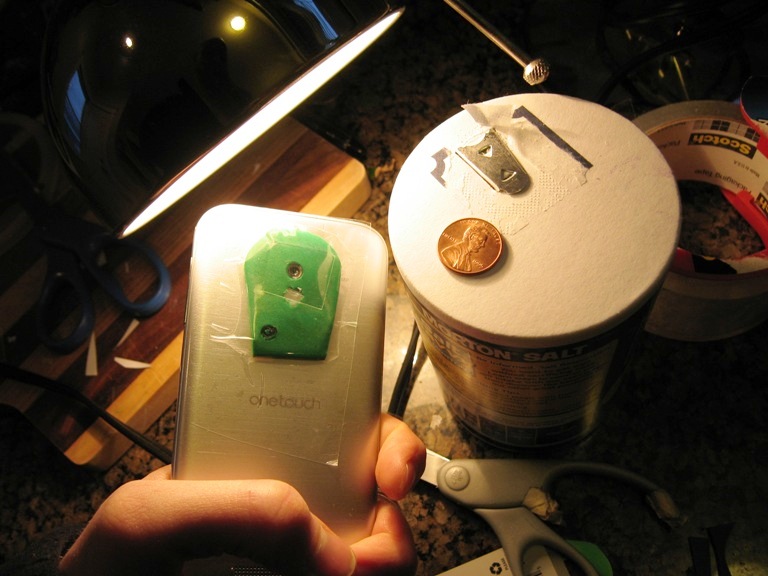
Lighting can be really important. Daylight or a desklamp helps a lot. Make sure the light is coming in at an angle so it isn't blocked by the phone. Light will get reflected off of your phone on to your sample. Try to avoid strong colors like the green shown or your microscope photos might have a colored tinge to them. I tried adding some foil to intentionally reflect some light but it didn't have much of an effect since my phone is already gray.
Focusing and holding the camera steady
This is not your regular camera anymore. You need to hold the lens extremely close to the samples to get them into focus. It sometimes helps to hold something flush to the sample and then slowly move away until it comes into focus.To hold it steady it helps to keep one side of the phone firmly on a flat surface and then rock the phone inwards until the sample comes in focus.


Toothbrush (left) and cardboard matchbook (right).
Extras
I added a small bit of foam (see above) which greatly helped with positioning the lens over the camera. Cardboard or anything really would work.I also added some pieces of frosted tupperware over my camera's flash to help soften its light though that didn't really work so well.
To get more magnification add a second lens smack on top of the first lens. Note that it is a lot harder to use a double-lens type of microscope because you need to hold things much closer to the camera and the smaller field of view makes it harder to find things.
Caution
This change does not need to be permanent but if you go with a minimal design then you run the risk of smashing things if you drop your phone. This happened to me and it actually just broke through camera cover and let me get the lens closer in – but your mileage may vary depending on your camera.To protect things, just add some (or cardboard or anything) above the lens like I did below so that the lens doesn't get smashed in if your phone drops on a flat surface.

Have fun!
Let me know if you have questions or would like to share your photos with me. Contact.
.